

· PHOTOGRAPHY ·
14 tips for black and white travel photography – journeys in monochrome
Scribbled by Claire ◊ 19 Apr 2025
If you’re newish to black and white travel photography and want to up your game, have a look at these hints, tips and suggestions for enhancing you travel shots, including when black and white works well and when to avoid it.

Travel photography is traditionally enhanced by colour. After all, it’s about portraying that sensory experience of a destination – the smells, the vibrancy, the contrast to your routine world.
Some countries are even unequivocally associated with certain colours. Think: deep red in China, leafy green in the United Kingdom, aquamarine in the Maldives or dusty orange in Oman. Sometimes, leaning into these chromatic stereotypes is beneficial – it (mostly) embodies the visual soul of a destination without using any words.
Due to this, I tend to do my travel photography predominantly in colour, rather than black and white. It’s often more expressive and I just love the stylistic impact that colour grading has on an image. However, there are rare times where black and white works magically. It creates a timeless, artistic moment – one that evokes emotion (and isn’t that what travel photography is mostly about?).
The thing is, composing and editing black and white photography can be difficult. Most images don’t lend themselves well to having no contrasting blues, reds, greens and yellows. The impact colour tones have on an image is profound.
So, below, we discuss under what circumstances black and white travel photography is ideal, how to work with black and white images in post-processing, what to avoid, loads of hints and tips, and more.
Hopefully this helps you produce the best possible black and white travel photography!
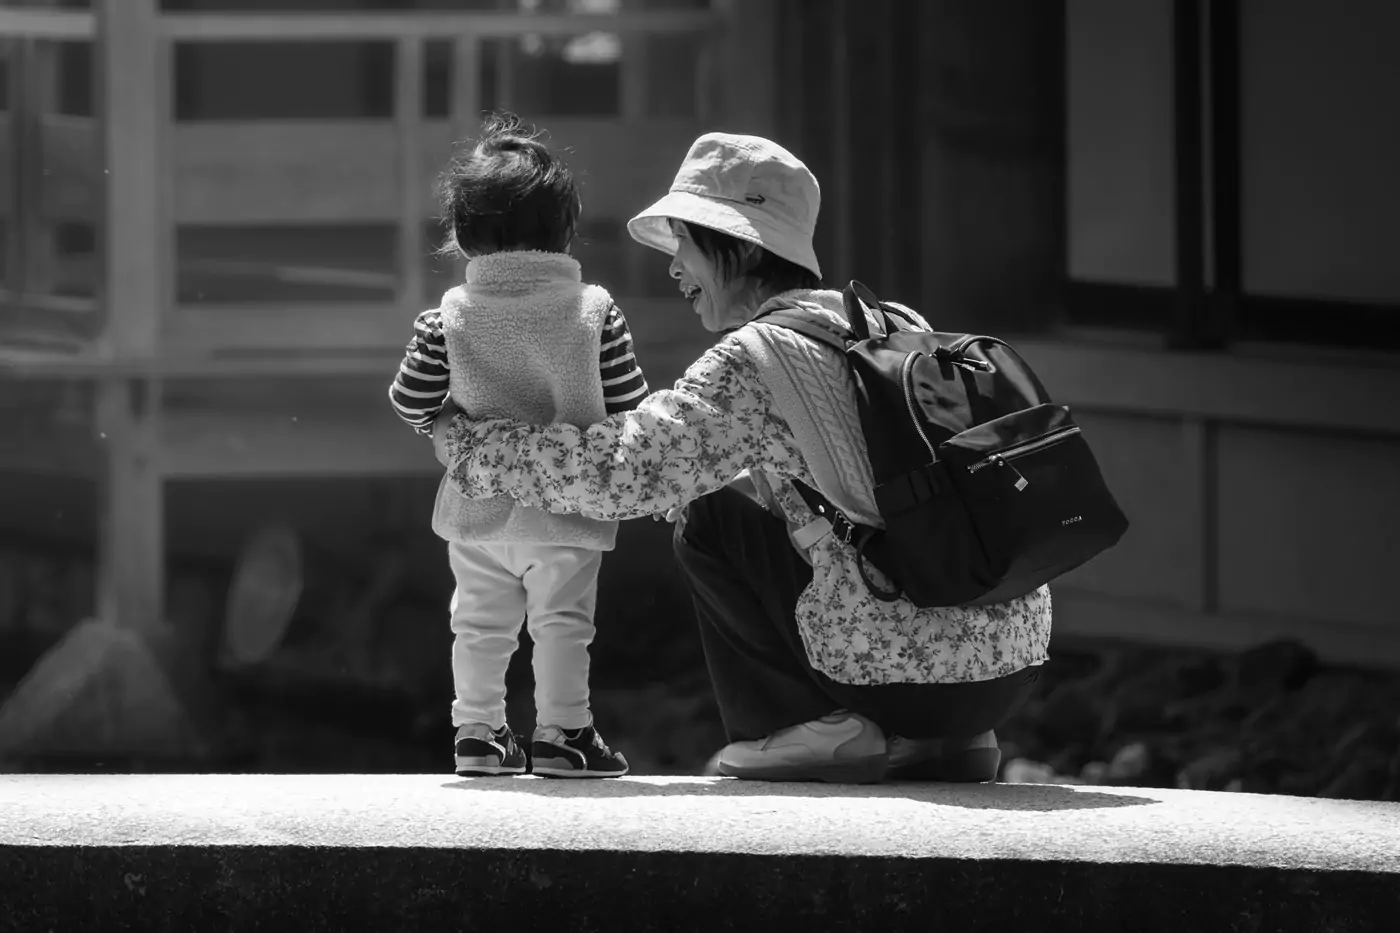
This post may contain affiliate links. If you book through these links we may make a small commission at zero cost to you. It helps us pay for the upkeep of this blog. Thank you!
Which Travel Photos Work Well in Black and White?
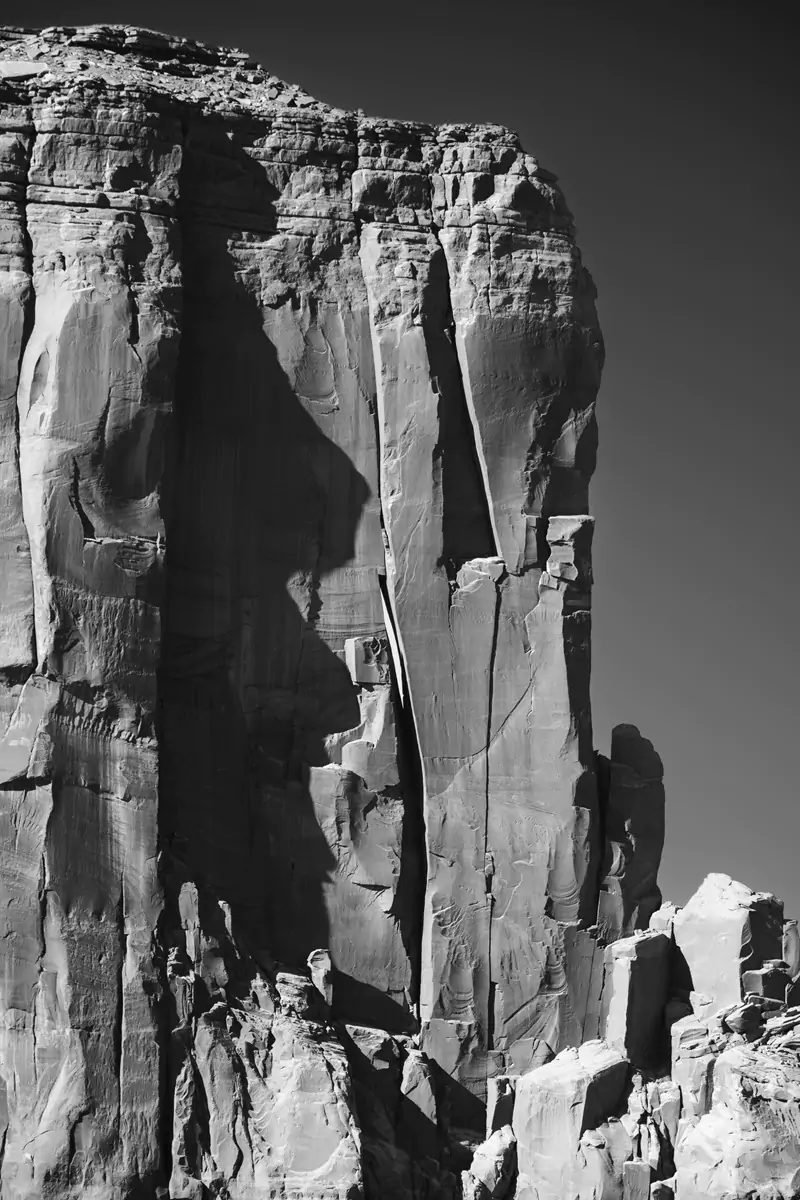
The most effective black and white travel photos are the ones that display high contrast, simple subjects, and clean lines.
They are often minimalist and have been planned in advance.
What to Avoid in Black and White Travel Photography
The most important thing to avoid within a black and white photo is clutter.
Removing colour from a picture reduces the contrast and definition that complementary tones usually provide. Instead, the image ends up being a mass of similar greyscale shades, which often look messy and don’t highlight a defined subject.
Consider a busy, hectic photo of a crowd of people all wearing different colours against a complex textured building and trees. It’s generally not going to work well in monochrome.
This is why landscape photography often falls flat in black and white – the complexity of trees, the ocean, hills and mountains all mixed together can often just be too intricate to look smart. The ocean blends with the beach, the trees blend with hills; it’s all just one flat, grey image.
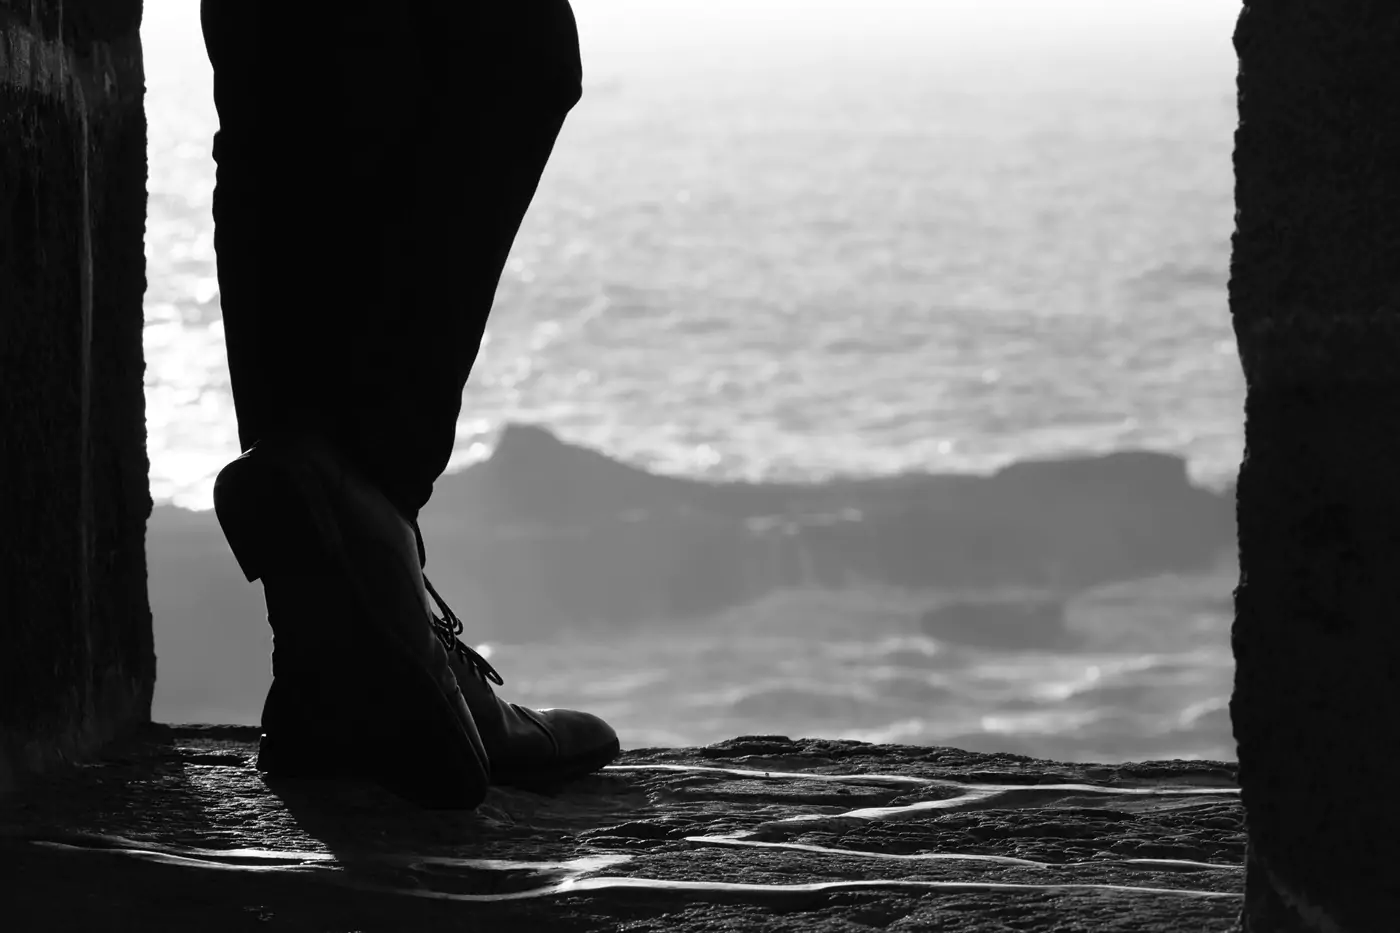
Why is Black and White Photography Difficult?
In other photography posts, I’ve written about why I think travel photography, in general, is challenging. This is mostly because the environments that you shoot are often unpredictable, unfamiliar, and usually complex. Plus, your subjects necessitate using a variety of photography techniques.
Black and white photography, especially in travel, is extra challenging to master for these same reasons.
Try to capture an uncluttered shot of a single person walking along a rainy street, or a perfectly lit doorway in a busy town, or the sun on a monkey’s face. These are typical subjects in travel photography but are very difficult to compose well in black and white.
In my opinion, only the best, simplest and most flawlessly composed photographs translate well into black and white. These are hard enough to get right in a controlled, familiar environment, let alone when travelling.
Consider: Why Black and White?
Black and white images conjure up all sorts of responses. Some say they’re nostalgic, others say they are arty. Certainly, a common consensus is that they have a timeless quality (when done right).
How you compose and plan your black and white travel photos will be dictated by what you want to produce.
Ask yourself: what is the purpose of your travel photography? Is it for art, editorial, or maybe just for your mum?
There is a huge difference in style between documenting a war zone, taking artful, abstract photography of a snail shell, and portraits of the man who cooked your favourite holiday meal.
They all have differing approaches, editing styles and end goals.
I guess I’m saying that reverting from colour to black and white travel photography should have a reason. Is it to evoke emotion, produce a fine art shot for print, or just to make you look thoughtful?
OUR CAMERA GEAR
We do exclusively travel and street photography (often these merge into the same thing), so we choose lightweight, flexible, high-quality equipment from Fujifilm.
The pictures are crisp, the lenses are small and perfect for travel, having survived some seriously questionable weather conditions. Our cameras are favourites with old-school photographers – the ergonomics are perfect.
We use two Fujifilm XT5 camera bodies combined with:
Fujinon XF 70-300mm f4-5.6 R LM OIS WR lens
Fujinon XF 16-55mm f2.8 R LM WR lens
Fujinon XF 18mm f1.4 R LM WR lens
–
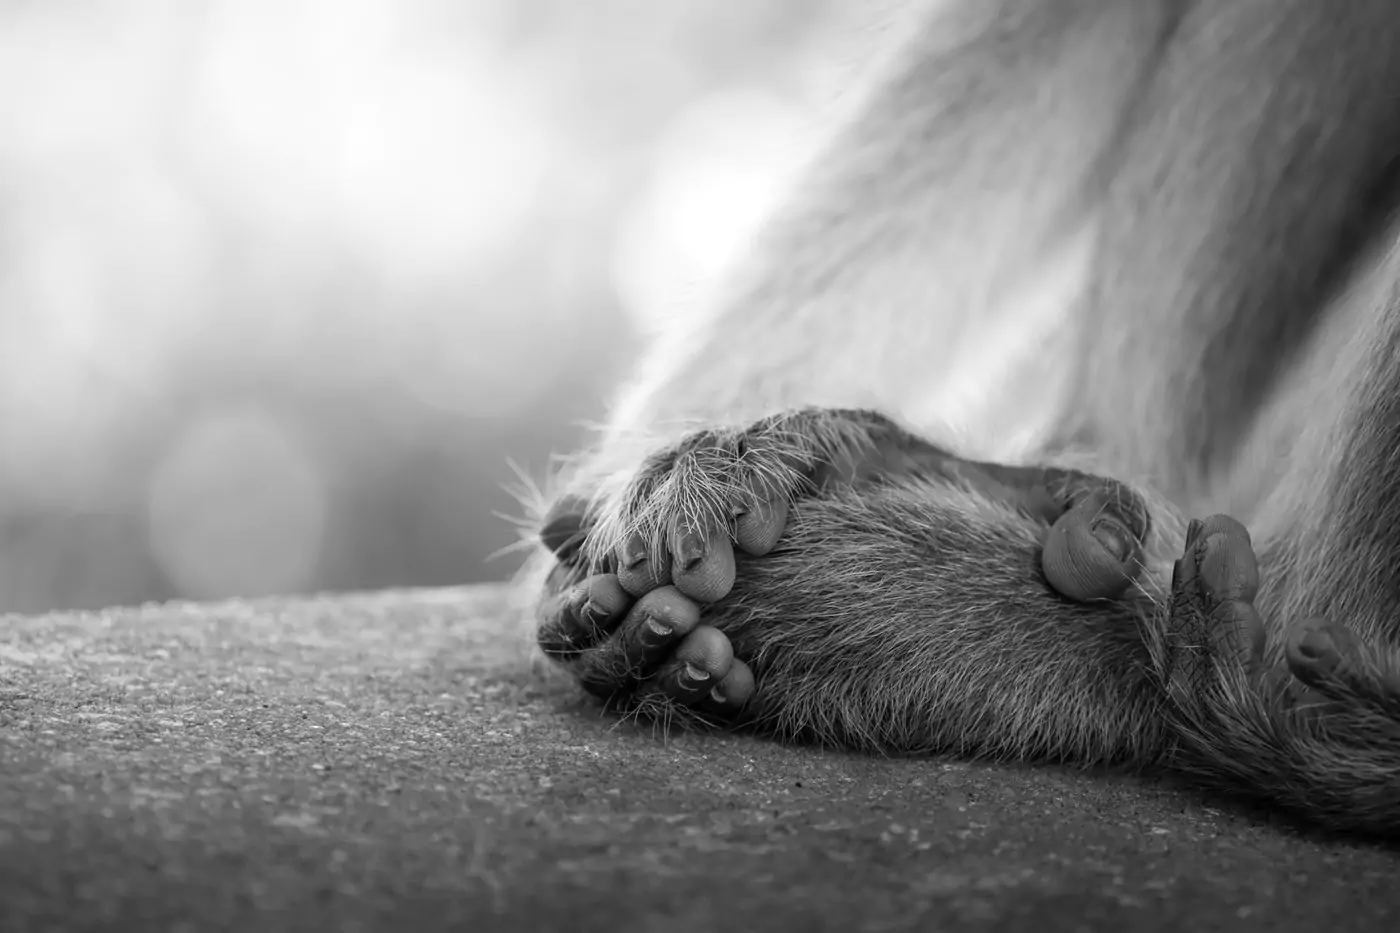
Hints and Tips for Better Black and White Travel Photography
1. Take Your Photos in RAW
The most important thing you can do (apart from maybe composition), is to take your photos in RAW format, rather than JPG.
RAW format preserves far more of the detail, especially in the highlights and shadows (so the lighter and darker parts of the photo). Control over these extremes is especially important when editing black and white photography.
For more information on RAW and JPG file formats, have a look at the relevant section within our general travel photography tips and guide.


2. Photo Editing is Essential
In black and white photography, artful editing is everything.
Travel photography will almost always be improved with a little editing, since the environments you shoot in are usually unfamiliar and chaotic.
This applies even more so to black and white travel photography.
Adapting the exposure (and shadows, blacks, highlights and whites) to suit your vision is almost always necessary. When RAW photos are converted from colour into black and white (by Lightroom, for example), they are usually flat and full of mid-tone greys.
These grey tones usually need to be enhanced in whatever direction you desire to increase the contrast and highlight your subject.
If you’re a beginner photo editor, check out these typical editing mistakes to avoid, and if you’re interested in more mid-range editing recommendations, have a read of our practical travel photo editing tips.
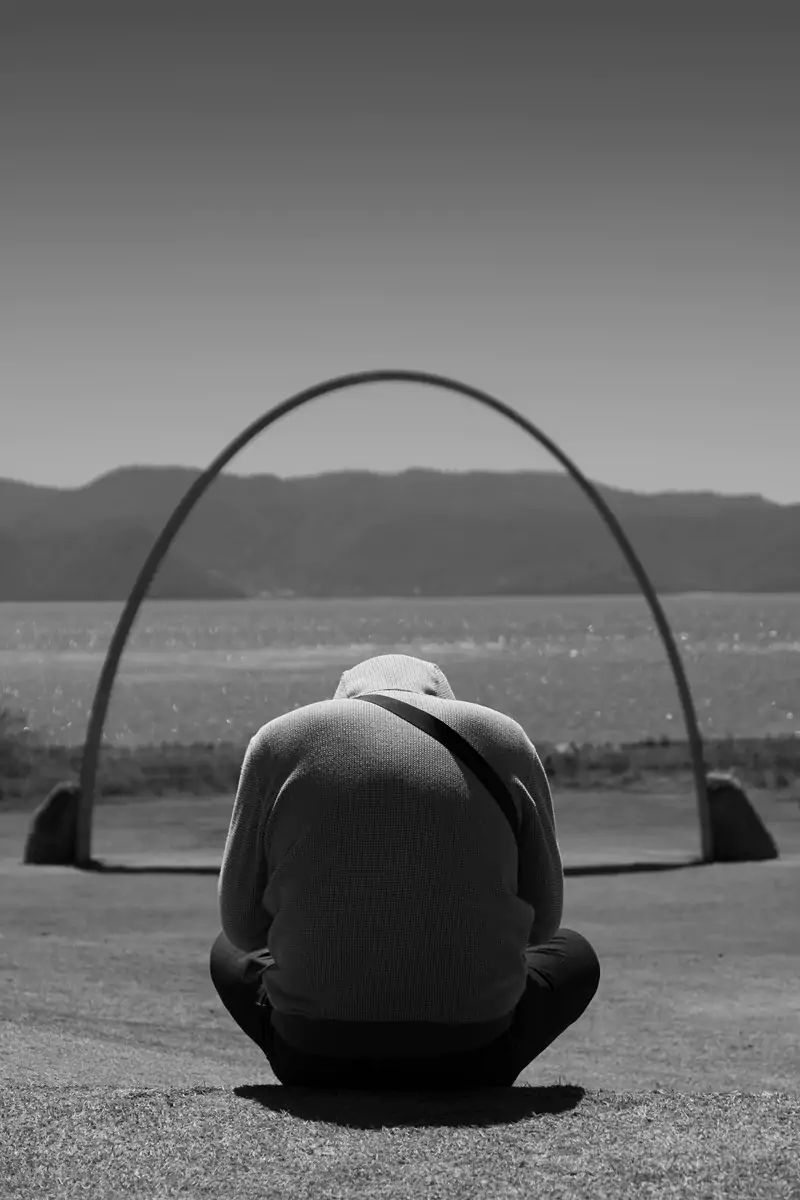

3. Compose to Minimise Clutter and Increase Simplicity
Composition matters in all photography, but it’s most vital when creating a fantastic black and white photograph.
Avoiding distractions, uneven, rough textures, and multi-coloured surfaces when choosing a shot will help make a black and white travel photo stand out.
Subject | ensure to always have a strong, clear subject in mind. If you are just taking a photo because the general view looks kind of pretty, it’s very unlikely to translate well into black and white. The best black and white shots have a specific focus.
Photo tip | think about not just your subject, but the background, too. For example, a red subject on a green background will be highly contrasting in colour but may blend into each other when converted into monochrome.
This applies to multi-coloured backgrounds too, where the colours may convert into a myriad of flat grey tones and look overly complex and messy, likely blending into your subject.

4. Spotting Contrast
As you cannot rely on colour, a large light contrast is essential for helping your subject pop.
When shooting, learn to spot which subjects will likely contrast nicely in black and white. It’s not as clear as you’d imagine – sometimes something that should lend itself well to black and white photography in theory just doesn’t work!
Tip | take some of your favourite photos on your hard drive and convert them to black and white. Try to identify which ones work better than others and why.


WANT TO TAKE A BETTER PHOTO?
There are three parts to travel photography –
◊ Planning your trip
◊ Taking the photo
◊ Editing the end result
To get the highest quality, most sophisticated photos from your travels, you’ll need to perfect all three (plus a tiny bit of luck).
So, we’ve written a lot of country-specific guides about planning trips to various destinations, and also collated our absolute top tips for taking photos on location. Check it out if you’re interested!
We’ve also produced several editing guides – the first covers common editing mistakes, and the second is a more intermediate user’s guide to editing travel photography. This covers more elegant, advanced and refined skills, ones that will promote your photos to the centrepiece of anybody’s wall.
–

5. The Importance of Light and Shadow
The high contrast mentioned in point four above can be gained by using shadows and light effectively.
Look for light sources that hit certain focal points and take advantage of it!
Photo tip | the interplay between dark and light is the strongest feature of most great black and white shots, so early morning and late afternoon are great times to shoot due to the shadows.

6. Texture Can Be a Winner (or Loser)
Textures and repetitive patterns can look incredible in black and white because they tend to have strong contrasting arrangements.
Conversely, they can also look messy, overly complex and confuse the viewer by not having a clear focal point.
There’s a bit of a learning curve, but after some time, it’s easy to spot what might work particularly well (generally, patterns with two repeating, distinct tones are effective).

7. Use Exposure to Simplify
Unlike in colour travel photography, excessively over or under exposing your images can actually be of benefit when capturing shots in black and white.
This is because solid black and whites don’t always look out of place in monochrome, whereas in the real world, they do. The ability to increase the darkness to remove clutter in the background of a photo, or even on the subject, is highly effective and can be done either when shooting or in post-processing.
The same applies for blown out (over-exposed, or clipped) skies around trees, for example. This can actually reduce unwanted complications within your black and white photo.
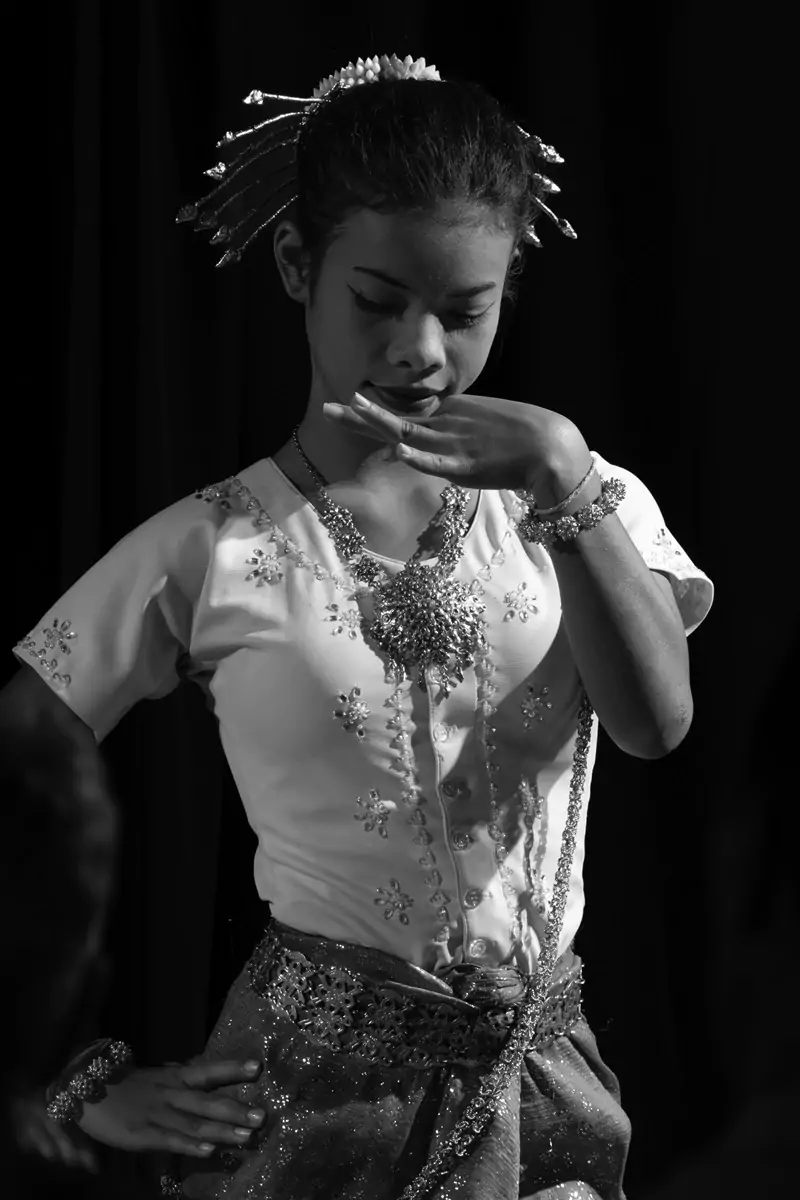

8. Visualising in Monochrome
Visualising in black and white is a recommendation given out by most black and white photo enthusiasts, and it’s pretty good advice.
However, seeing a composition in black and white is not that easy and I don’t always do it (some of the photos here are converted to black and white after the fact, and others were taken with black and white as the initial intent).
Sometimes, if you’re shooting in colour, it’s obvious if a composition will look magical in black and white. Certain images are simply strong like that.
Tip | if it’s not that obvious to you, consider changing the LCD screen to monochrome (this is an option on most cameras). This will force you to consider images in a different way and will highlight, in the moment, which compositions are stronger than others.
Also, if a black and white composition looks good on a tiny LCD screen, that bodes well for viewing it on a larger one!

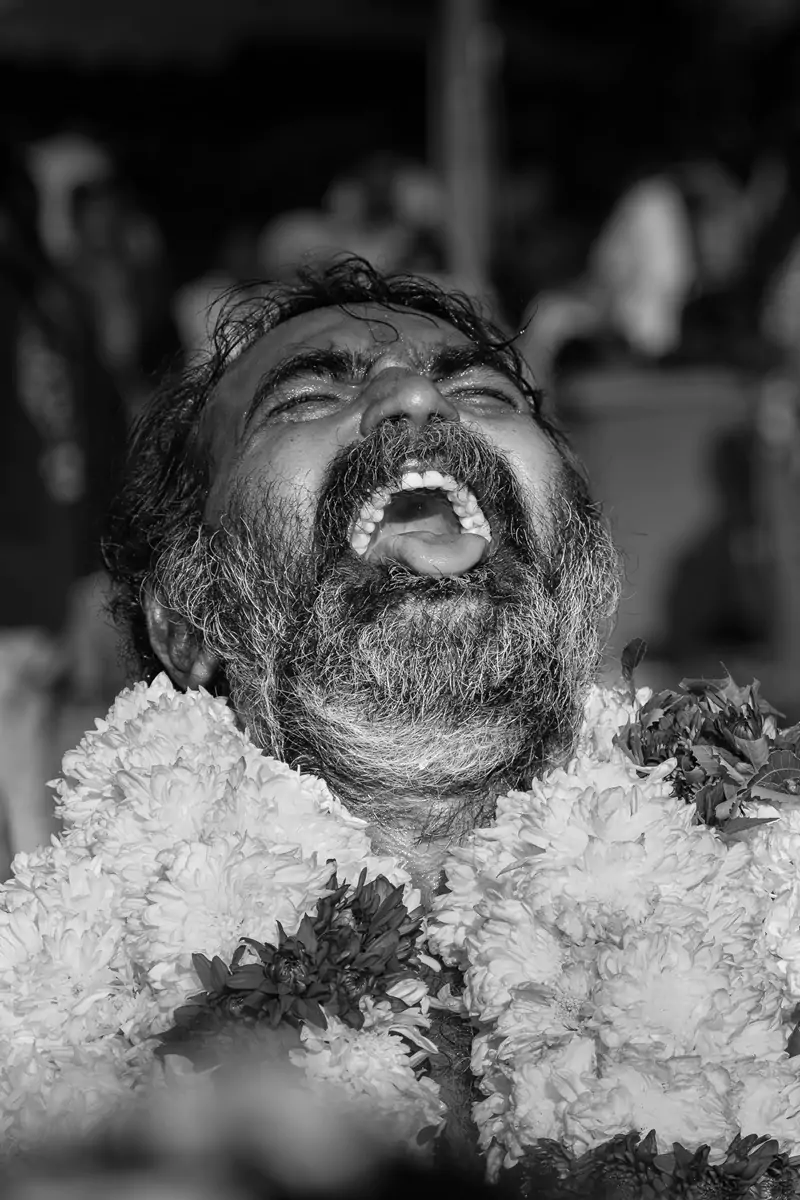
BLACK AND WHITE CAN’T RESCUE A BAD PHOTO
A quick note just to say that a badly composed, out of focus or improperly exposed image can never be saved by converting to black and white.
In fact, I’d argue that often, only the best colour photographs look great in black and white (not the worst!).
Adding grain to black and white photos in post-processing is another method that can be sneakily used to compensate for a bad quality, especially slightly missed focus.
Ideally, just to work with your best shots. Trying to salvage a photo that didn’t work out initially will never really yield the best results.
–
RELATED POST | HOW TO BE A RESPONSIBLE TRAVEL PHOTOGRAPHER
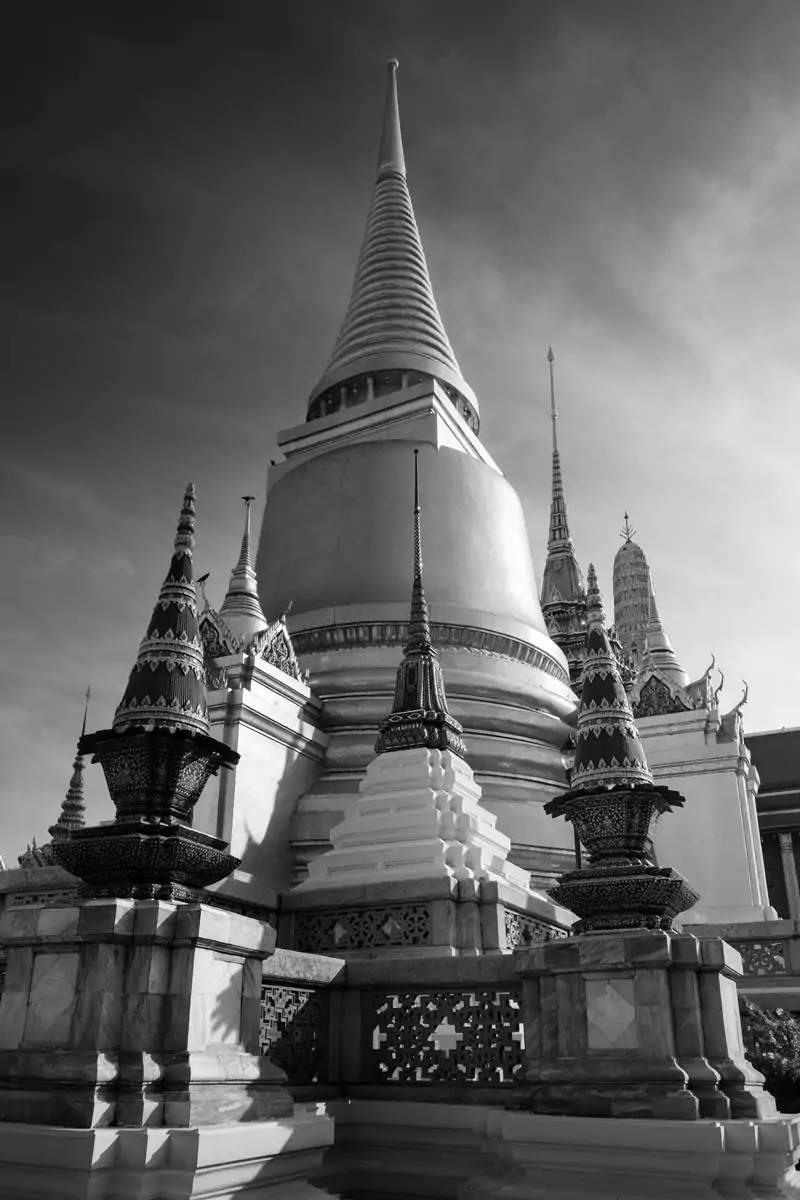
9. Dramatic Skies
In colour photography, skies often have some nice cloud textures or vibrant blues. However, in black and white, skies can often feel flat, dull and a waste of space.
Despite this, I’m a big fan of skies in black and white. In particular, smooth, cloudless skies. This is because, contrarily to colour photography, they are flexible and can be adapted heavily in post-processing to make your subject or the light direction pop.
To do this, adapt the light to suit your envisioned mood by using angled exposure gradients intersected with the sky and adjusting the overall sky exposure in Lightroom.
You can see this in action on the Mount Fuji shot above, where the sky is nearly black, making the summit and clouds stand out. Above that is a photo of the Mobius Arch in Lone Pine which has had a similar affect applied.
Below are a few more examples to describe what I mean!

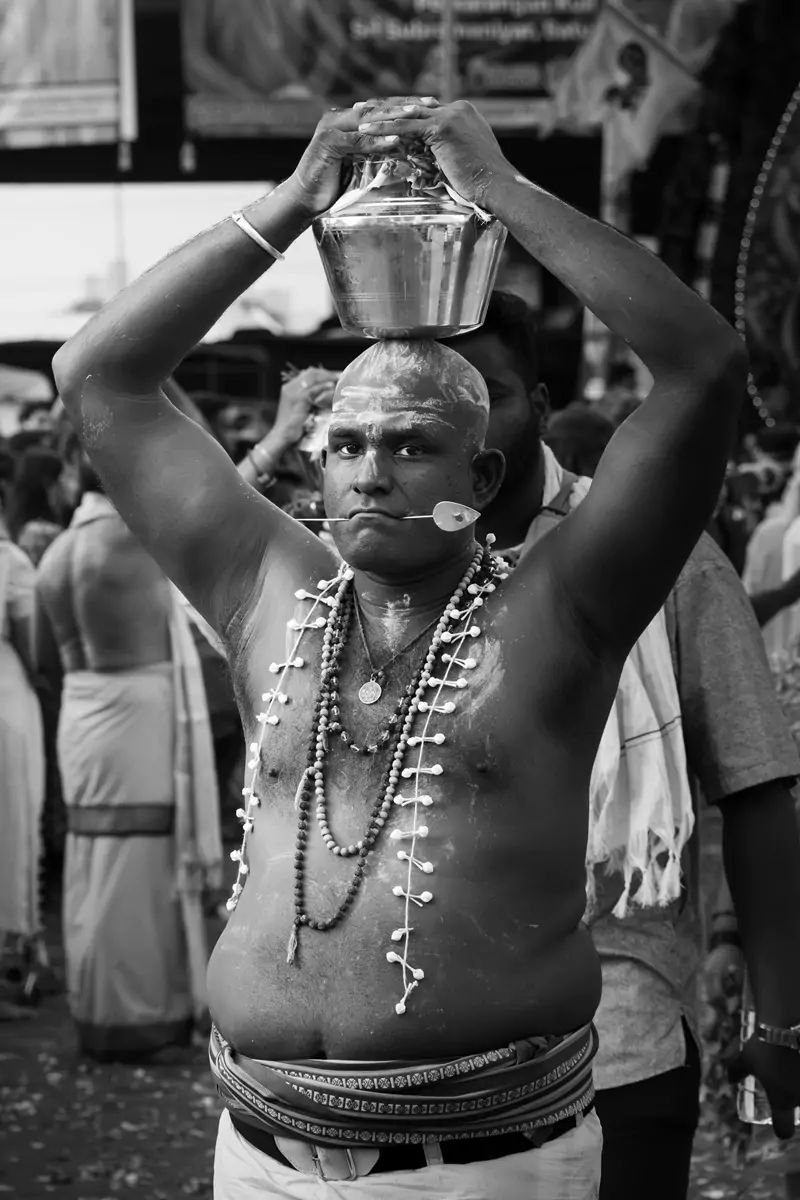
10. People Are Magic in Black and White
Black and white travel photography is especially effective when people are the subjects.
I don’t actually know why, but the enduring elegance of black and white just makes people photography feel timeless.
In a more technical sense, I feel that black and white photography can be beautiful for highlighting the facial features of a person, especially their eyes.
Tip | if you are attending an event with lots of people, spend some of your time taking intentional black and white photographs and compare the results with your colour versions.

11. Tight Cropping
In black and white travel photography, significantly cropping an image can reduce the complexity and lead to a better final outcome.
Try choosing a section of your photo around the subject and crop in more than you usually would. This can result in a striking black and white travel shot (and you may be able to also use the full image in colour – two for one!).
Within this section, I’d like to mention that macro photography is amazing for producing quality abstract black and white images. It’s not quite the same, but is sort of similar to cropping into a small detail of a wider photo.
Tip | having a nice high megapixel count and large sensor on your camera can enable tighter cropping.

12. Long Exposure and Intentional Camera Movement
The ocean, waterways and messy, cloudy skies can look distracting in black and white (and are ubiquitous in travel photography).
To ‘smooth’ these out a little, try using a longer exposure. We’ve all seen those pretty, smooth waterfall shots – well that same technique applies here. It can make crashing waves, water textures on rivers and moving clouds look almost texture-less.
This can make for excellent wide, dramatic black and white landscape shots.
Tip | you’ll need a neutral density (ND) filter to cut out a lot of the light if you’re taking long exposure shots during the day. Set your ISO as low as you can go and use a narrow aperture.
Another option is the more abstract technique called intentional camera movement. This is a bit more niche (I’m not actually that much of a fan) but can provide some really cool abstract black and white images that would otherwise look a little dull. The resulting images sometimes look a little like a painting!


13. Chase the Snow
If you look at the archetypal black and white landscape photography – it’s always of a tree on the horizon behind some kind of sloping field. These subjects are a photographer’s favourite!
The next most popular image is a tree, house, or other stationary subject, surrounded by snow.
This is because when snow is first laid, the cluttered surrounding surfaces now look perfectly smooth.
Wherever you are, run outside the minute the snow has fallen to capture the perfect image. As soon as it starts to melt, or people or cars meander through it, your minimalist dream image is ruined!

14. Backlighting and Silhouettes
Silhouettes are one of the coolest types of black and white travel photography. Think: the outline of a giraffe walking past a giant setting sun on an African savannah.
When the subject is between you and your light source, it’s usually not possible to expose your photo in such a way that your subject and the background are both correctly exposed. This usually means exposing for the background, leaving your subject seriously underexposed (very dark, just a silhouette).
Usually, this underexposure would be a bad thing, but not here. Silhouettes are awesome and work perfectly in black and white.


Final Thoughts – Black and White Travel Photography
Most of these black and white travel photography tips are detailing smart ways to simplify and tidy up compositions, while enhancing the light and dark contrasts. It’s actually that simple!
However, identifying these ideal moments is not always so straightforward in reality, and practice really helps to improve black and white travel photo composition.
I’m still working on this myself – my travel photography is definitely a work in progress.
We hope you’ve found something here that helps! Have a magical day.
Hi, thanks for visiting our blog! If this post has been of help to you, or you’ve just enjoyed our random ramblings and musings, say thank you by buying us a coffee! It helps keep The Restless Beans blog up and running.
Thank you, Claire + Nick


